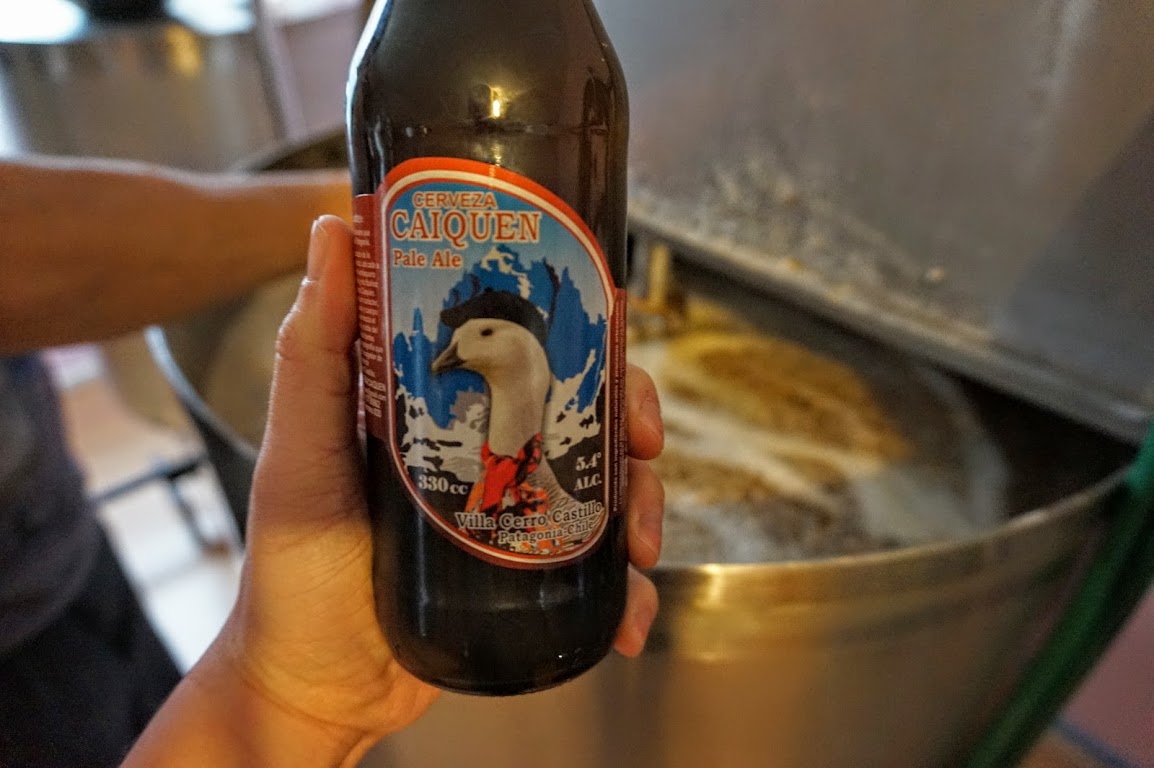
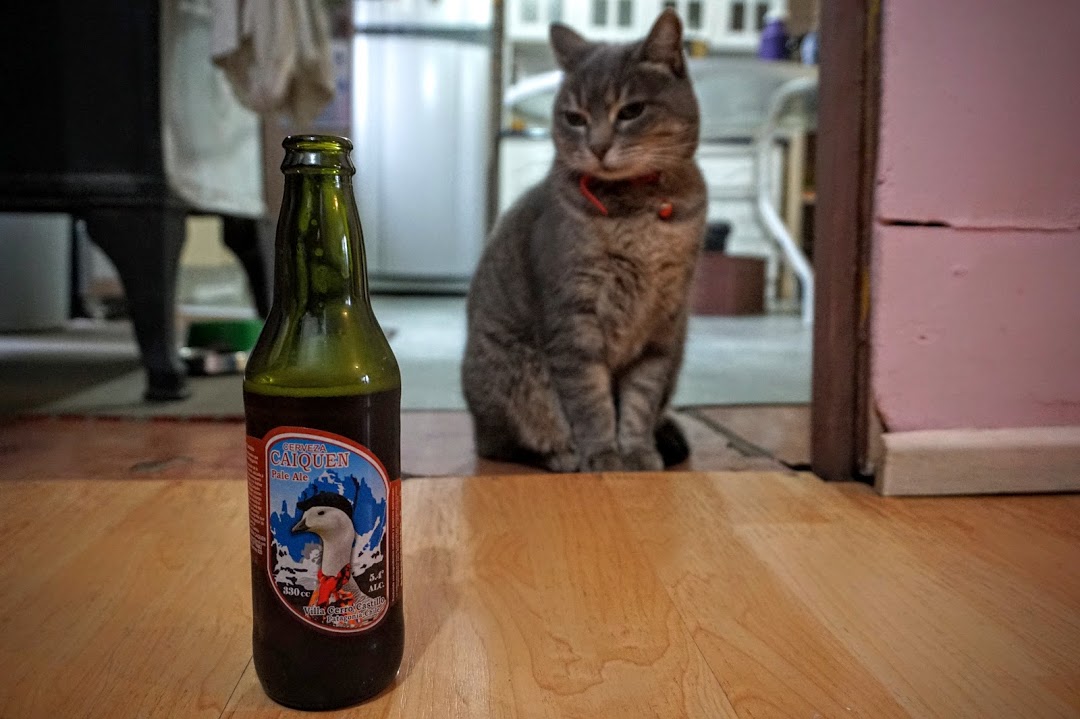
We recently wrapped up three weeks of volunteering at a small brewery in Patagonia called Cerveza Caiquen. We love traveling, but one thing we have missed is brewing beer so this was the perfect opportunity for us. Since this kind of thing gets us really excited, we wanted to share some of what goes into making beer.
A Quick Overview
The main goal when we brew beer is quality over quantity. To achieve this we need to control things like flavor, color, alcohol, carbonation, etc. This means we will need a well defined process… and SCIENCE!
A quick aside for science: alcohol is created when yeast eats sugars. The easiest way to think about this is when the yeast eats sugar, it farts C02 and poops alcohol. Yup, you drink yeast poop.
Beer has four main ingredients: water, grain, hops, and yeast. All of these contribute to the flavor. The grains contribute to color, mouth feel, and fermentable sugars. Hops add a bitter, zesty, or citric taste, floral aroma, and help with preservation. Yeast consumes the sugar and produces alcohol and, if you are bottling, carbonation. Sometimes you find a beer that tastes odd or bad. If this was unintentional, then we may have a fifth ingredient - bacteria - likely due to cleaning and sanitization issues. Other times it is totally intentional, hence “sour” beers.
To briefly outline the entire beer making process:
- Extract sugar and “body” from the grain in warm water.
- Alter the flavor profile by adding hops while boiling your sugar water.
- Create alcohol by adding yeast and waiting a really long time.
Preparation
Many of the steps required to make good beer require accurate temperature, timing, measurement, and attention to detail. For this reason, any successful brewday requires preparation.
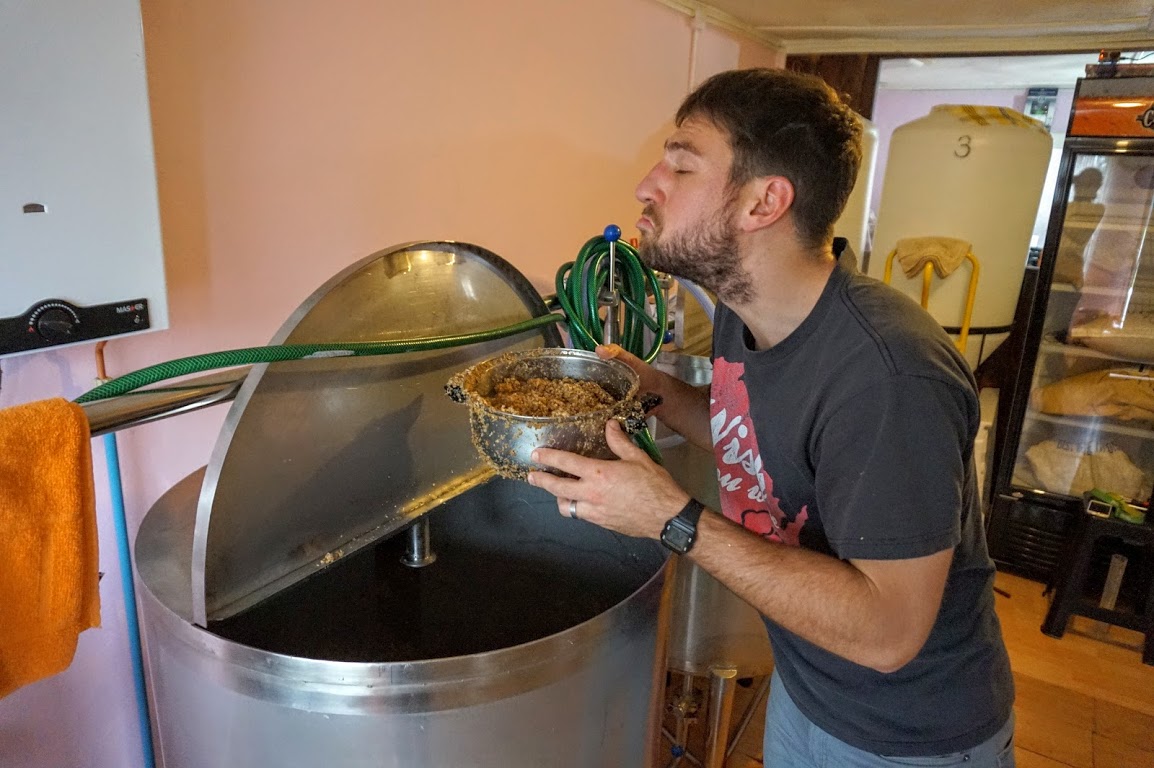
- Mill the grain: As you know, we need to extract sugar from our grains. First we need to mill or crush the grains a bit so hot water can extract as much sugar as possible. Un-milled or under-milled grains won’t release as much sugar, and over-milled grains will end up clogging the system.
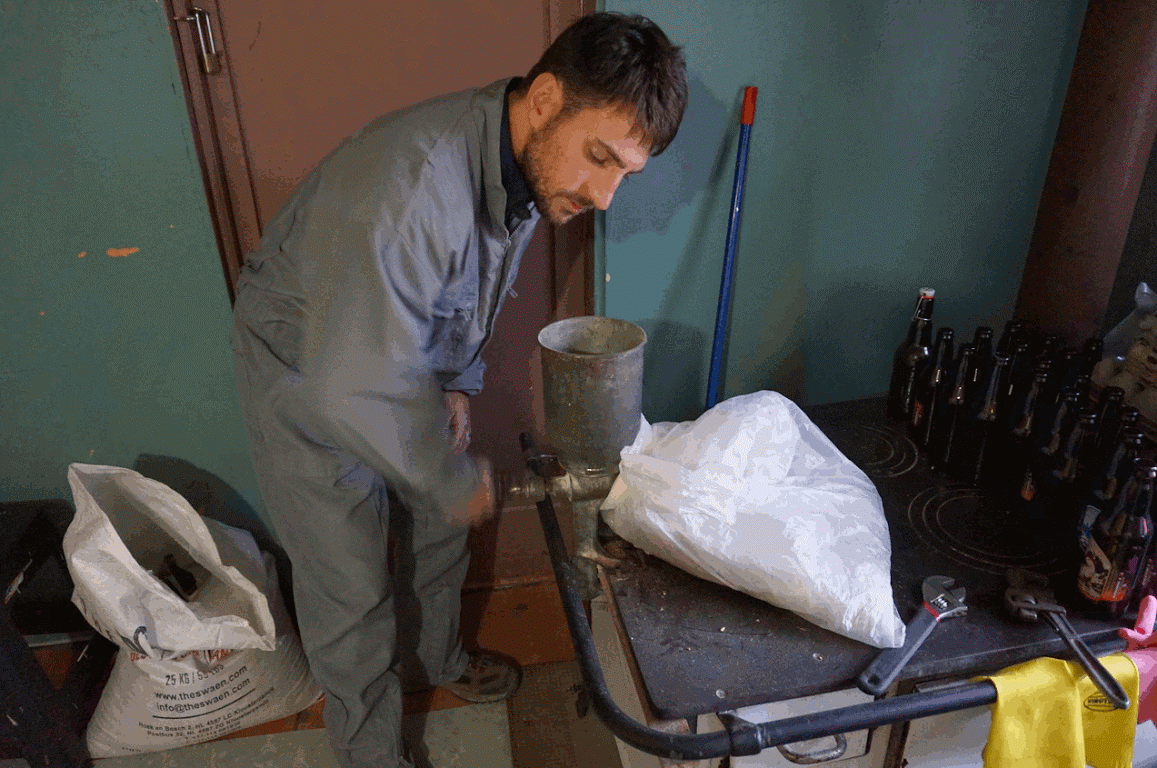
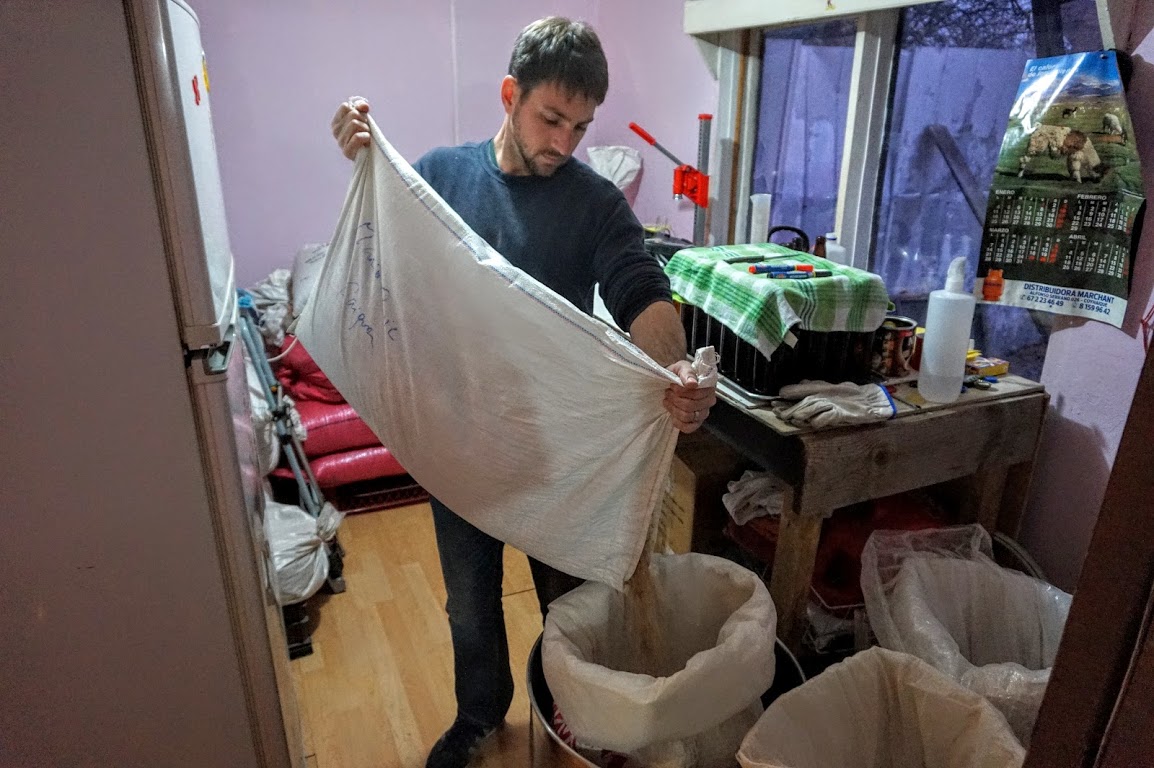
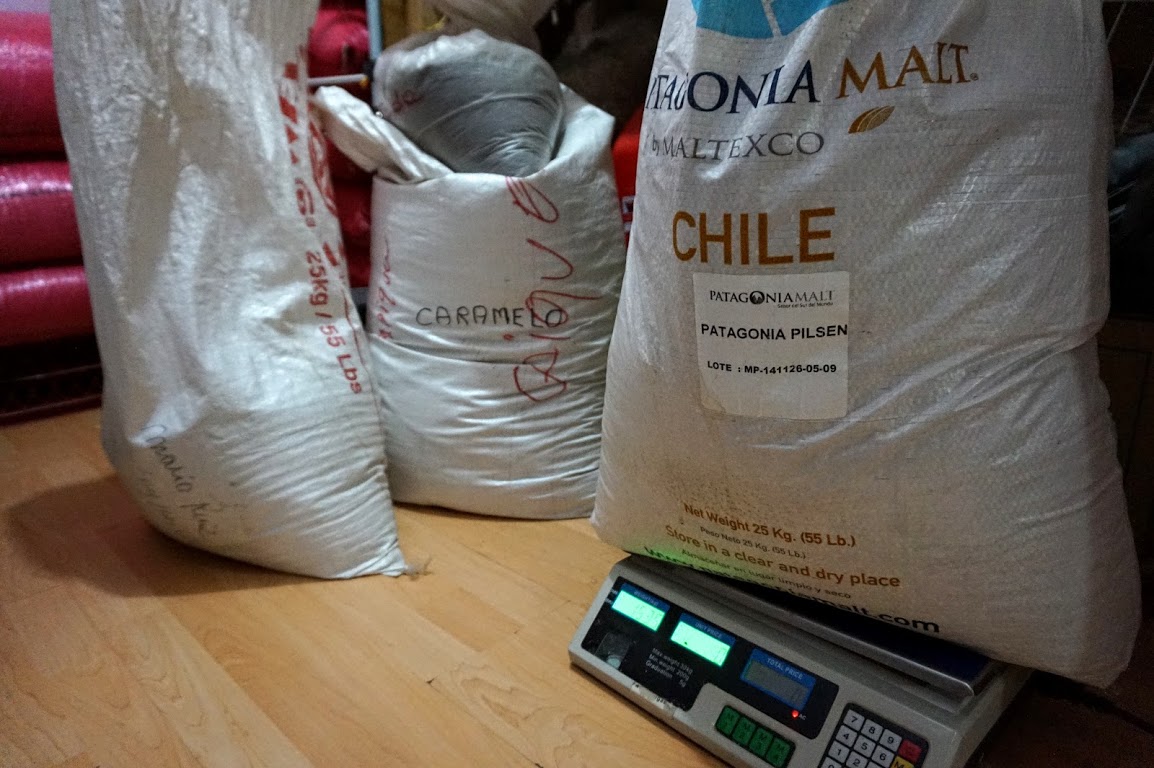
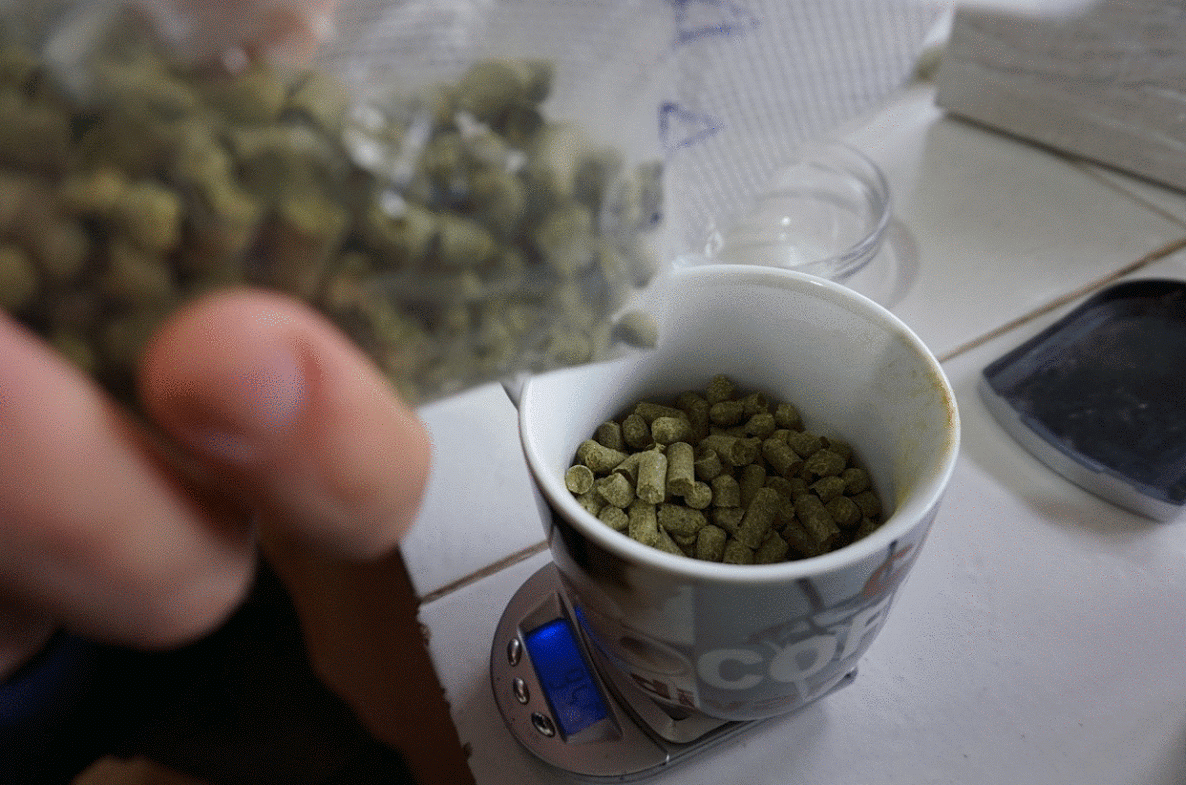
- Measure the grain: In addition to “cracking” the grain, we need the correct amounts. Too little leads to an uneventful night, and too much means being asked to stop yelling at the ref in Tommy’s little league game. In addition to affecting sugar levels (alcohol), the types and amounts of grain will determine the “body” and color of the final product. To make sure we get it right, we weigh out all grains according to the recipe before brewing.
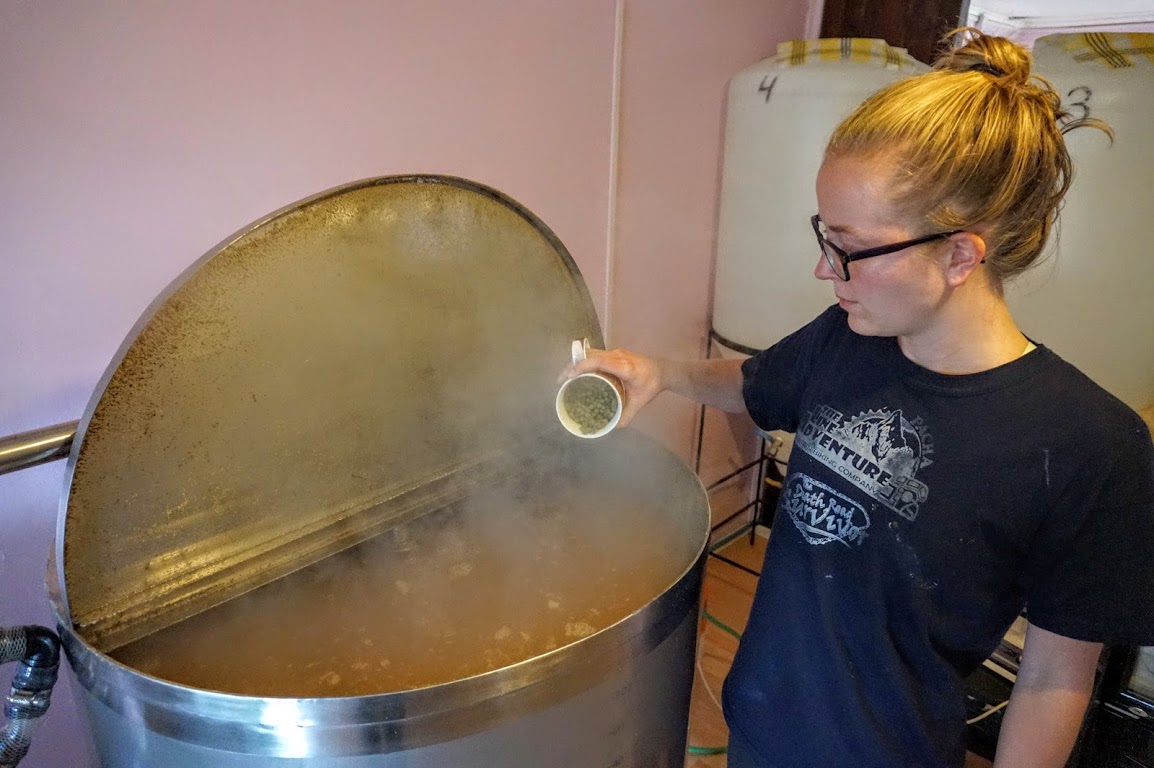
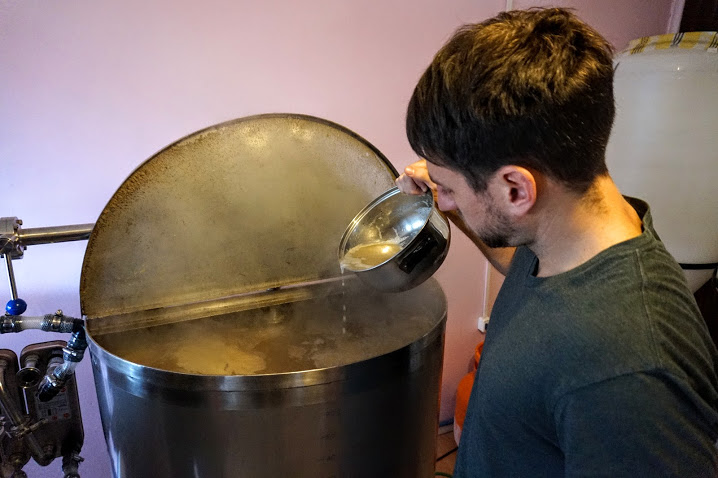
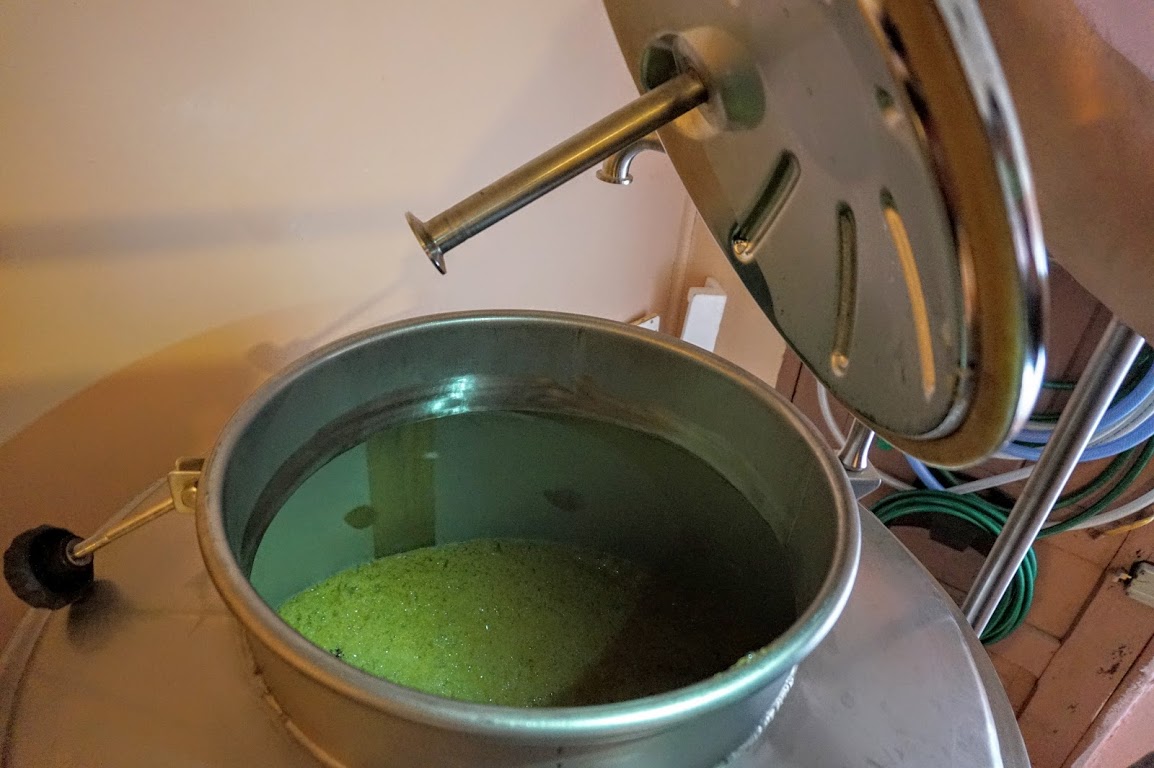
- Prepare hop additions: The timing and amounts of hop additions can change what sort of flavor and aroma they give to the beer. Adding hops early in the boil will impart more bitterness while later in the boil will give more floral aromatic qualities. During brewday we always take a few minutes to prepare hop additions in clearly labeled separate containers according to the time they are added.
Brewing
Before we jump into brewday specifics, let’s go over common equipment used in the process.
- Hot liquor tank: Not nearly as exciting as it sounds. It is just a large vat of hot water, waiting to be used in the rest of the brewing process.
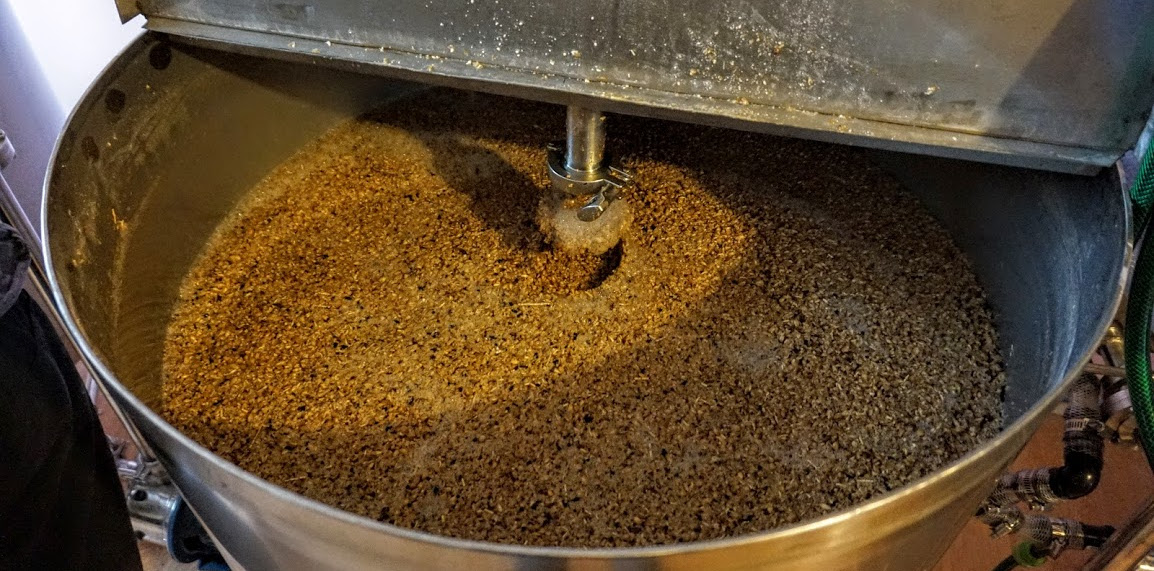
- Mash tun: This is where we extract sugars from the grain. We combine the hot water with our crushed grains and let everything soak for about an hour.
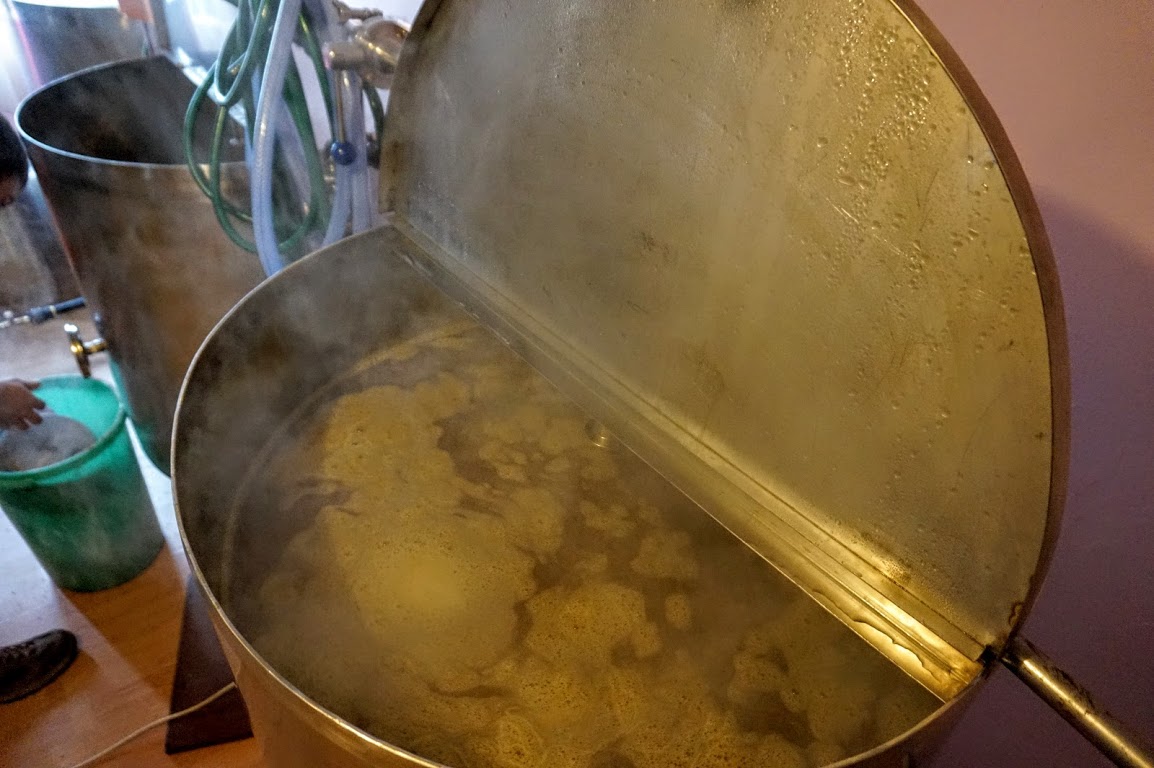
- Boil kettle: This is where we boil our wort, or sugar water, for about an hour. We will add hops into this vessel.
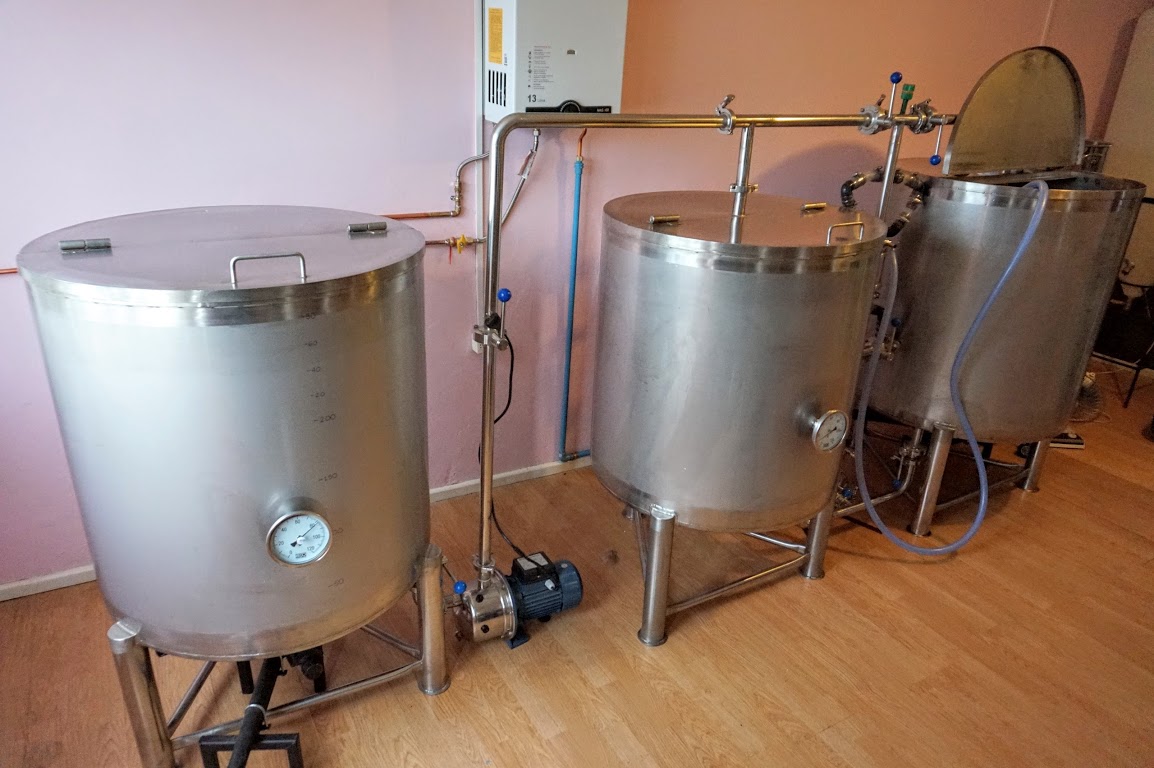
- Fermenter: This is where we let the beer sit for a long time while the yeast does its work.

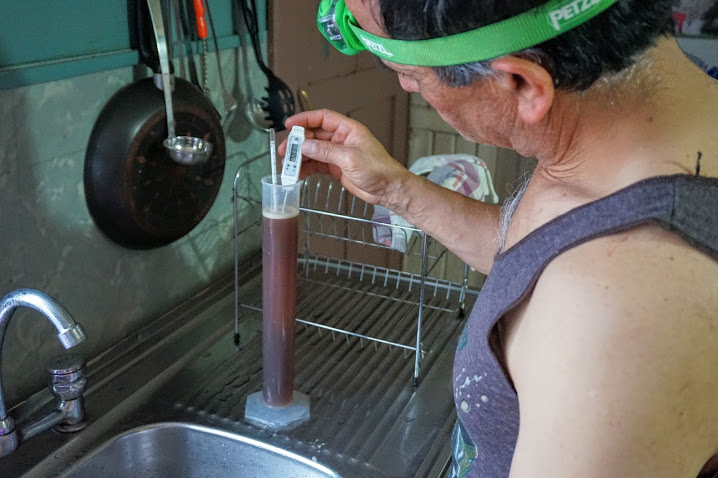
- Hydrometer: This instrument is used to measure the density of a liquid. When we use this with beer or wine, we are trying to measure the amount of dissolved sugar, which will eventually tell us how much alcohol we have.
- Chilling equipment: This is used to cool the hot wort so the yeast doesn’t die when we add it. We used a counter flow plate chiller. Basically we hook up a garden hose to the contraption and it transfers heat away from the hot wort and into the colder water.
Ok. Now that you know about the equipment, let’s go through the process.
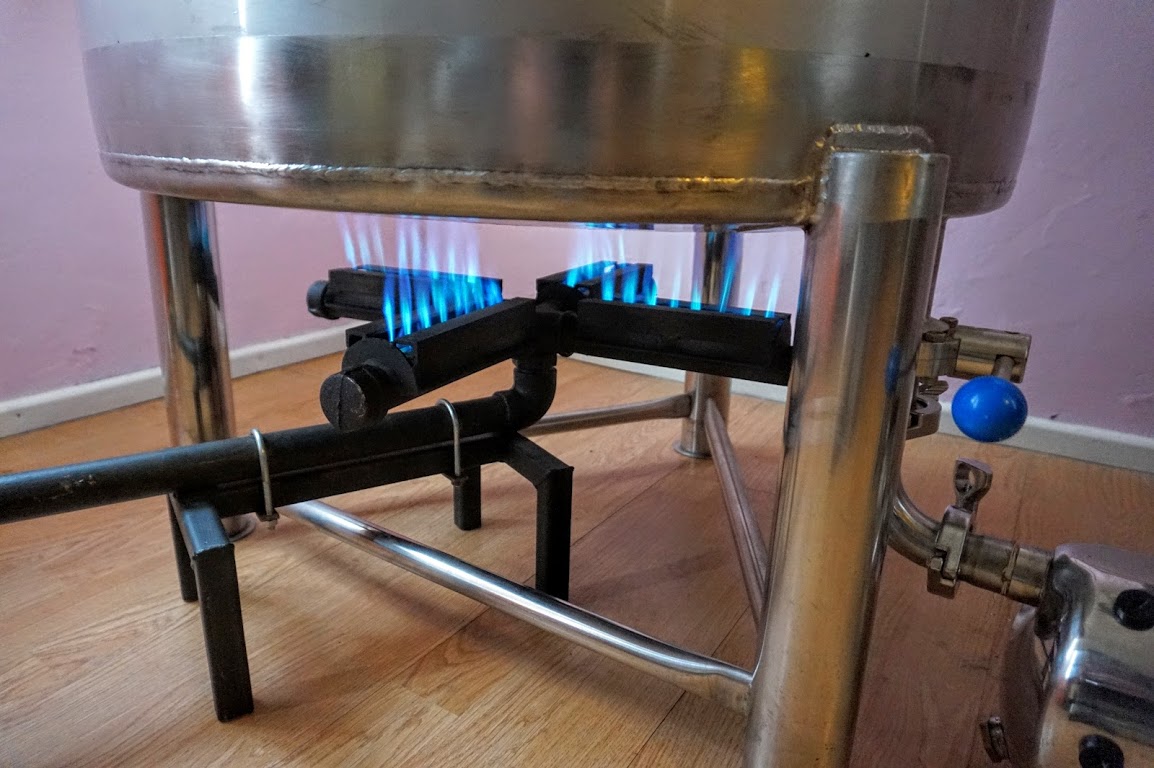
- Heating water: Why have I bothered to mention heating water? It can take a really long time, especially if you have a lot of water to heat. On our 300 liter system it would take around two hours to get it up to temperature with a large propane burner. (Make sure you have good ventilation!)
- Mashing: In this step we soak the milled grains in warm water. We like to think of this step as steeping a really large bag of tea because one of our early brewing setups called Brew-In-A-Bag was exactly that. We do this for two main reasons. First, we need to dissolve the sugars into the water so we can remove it from the grains and move it to the next step, and second we need to break down the long, complex sugar chains into smaller molecules so that our yeast will be able to digest it. Temperature and time is important in this step so that we can facilitate breaking down the sugars. Basically, the grain has some natural enzymes that will do this work for us, but they are only active in a specific temperature range. Too cold and nothing will happen while too warm and we end up denaturing the enzymes. If this happens, you will have sweet but low alcohol beer. Often brewers will mash at the correct temperature for a while, and then raise the temp enough to denature the enzymes (called mash out) to lock in the amount of fermentable sugars (alcohol content) and ensure some sweetness is left over.
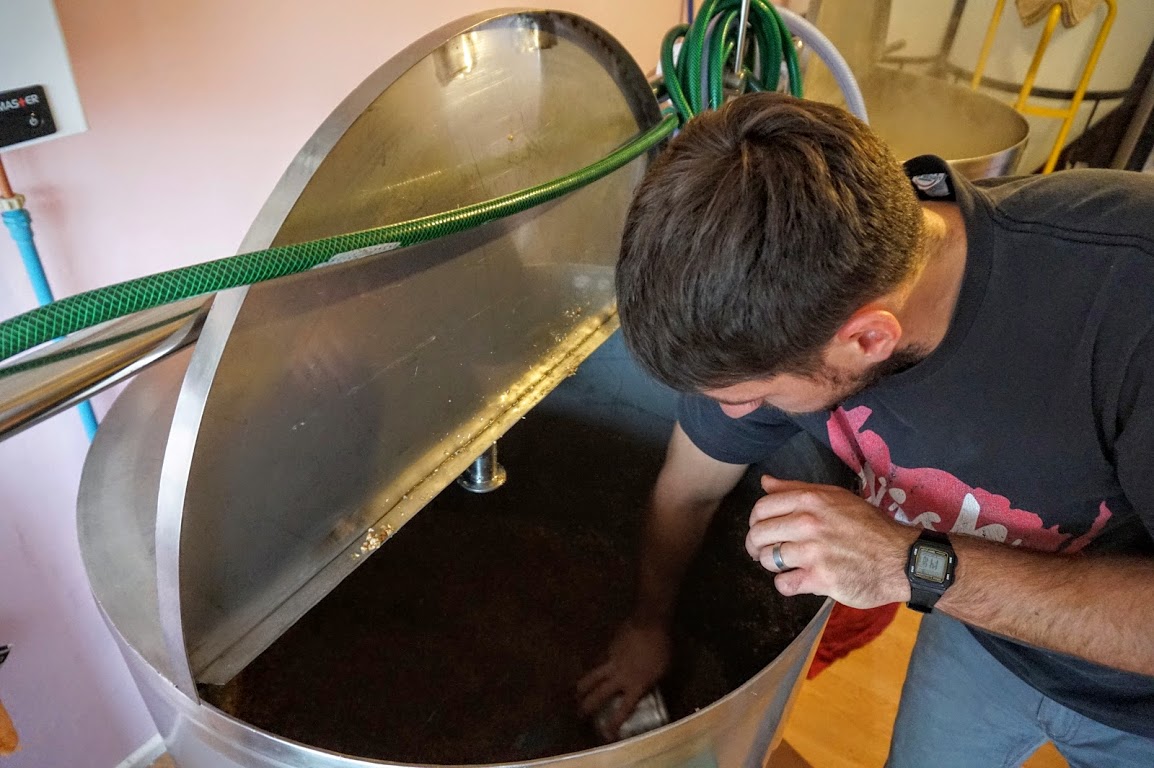
- Vorlauf, lauter and sparge: Fancy German words meaning to recirculate (to set the grain bed), drain, rinse. We do these to get the most fermentable sugar out of our grains and into the wort.
- Boiling: We usually boil the wort for an hour and add hops and other additives at specific times. Remember, changing the time of when you add hops can affect how the final beer tastes: early for bitterness, later for aroma.
- Cooling the wort: This is where we use our cooling equipment to lower the temperature of the wort so the yeast does not die when we add it.
- Pitching yeast and fermentation: Pitching is just a fancy brewer’s term for adding the yeast to the cooled wort in the fermentation vessel. Do you remember why we add yeast? As it turns out, the type of yeast can also have a large impact on the final taste, color, clarity, and alcohol content.

Cleanup
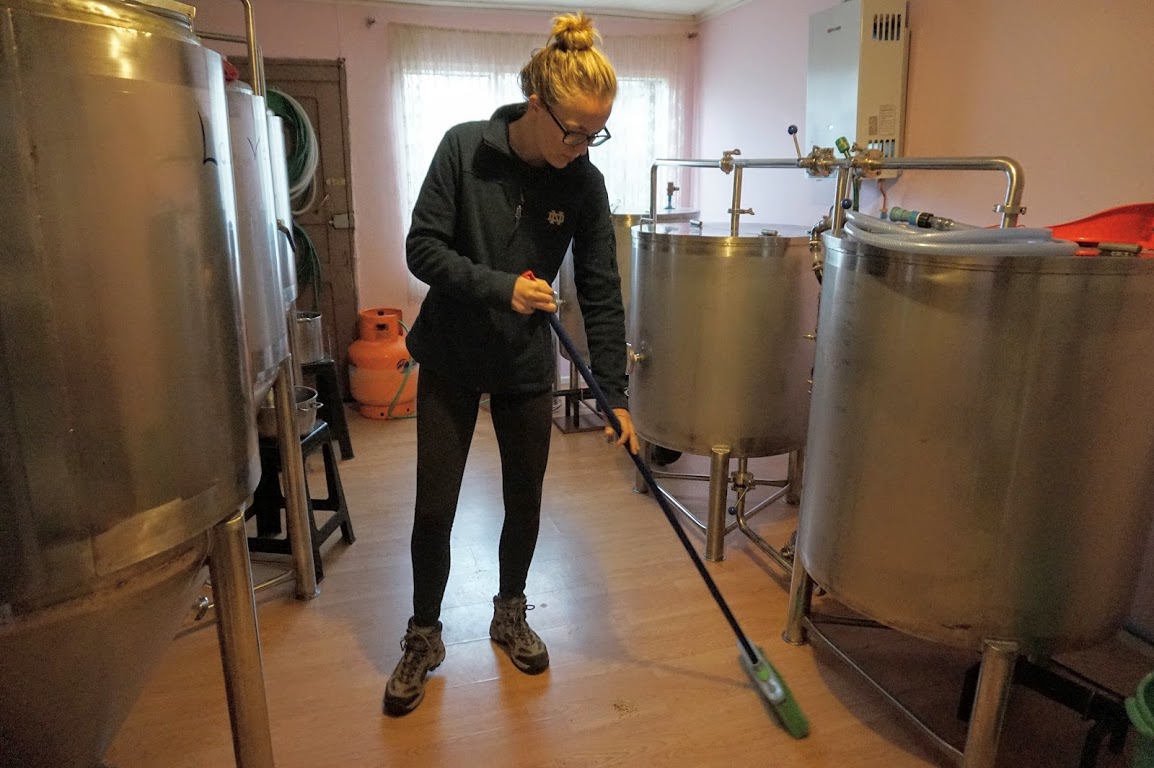
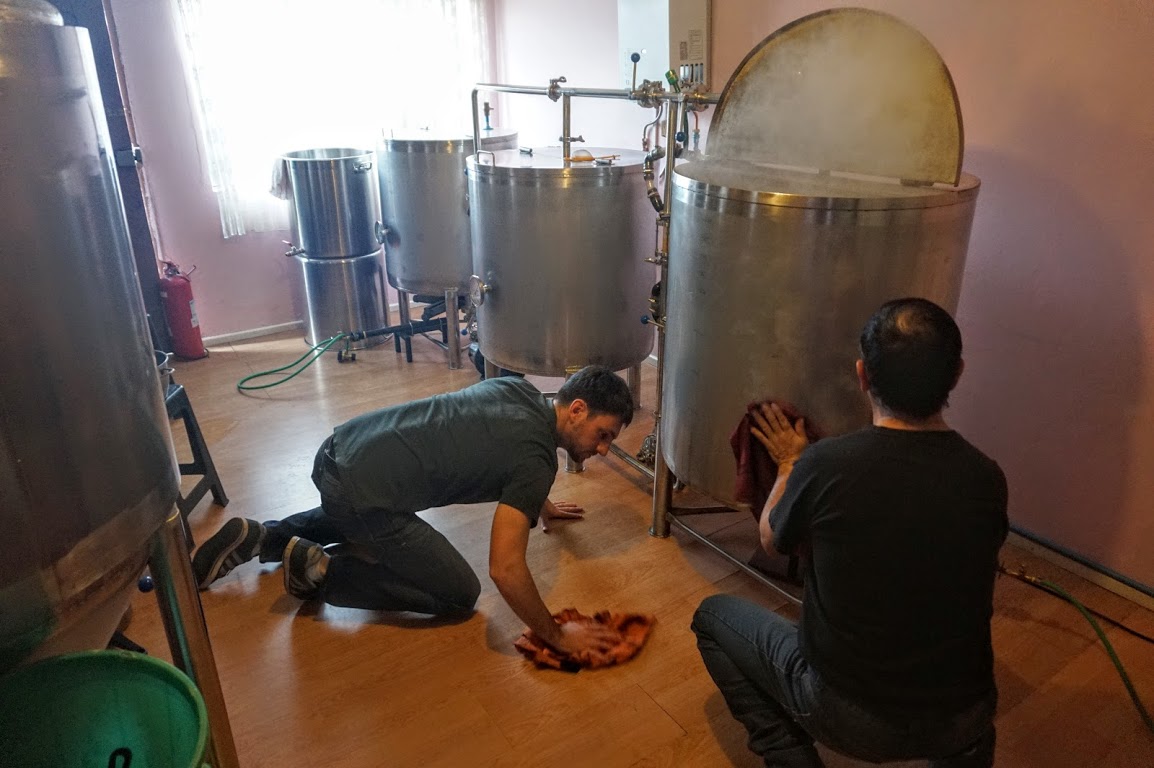
Cleaning is important when brewing beer and not just for the obvious reasons. After we brew the beer, we have to let it sit for a long time. Some beers need to sit for over a year! That is plenty of time for a little unwanted bacteria to multiply and change how your beer tastes. Cleaning is important when making beer for accuracy and consistency.
There are two main phases to the generic term “cleaning.” The first is cleaning, or removing unwanted material like grain, dirt, dust, buildup, etc. This is similar to how we do the dishes with hot water and soap. The second is sanitizing where we try to kill unwanted bacteria, fungus, and yeast. Conveniently, anything that is used in the brewing process before the boil should be cleaned, but does not really need to be sanitized as we will end up boiling the wort for an hour anyway. In contrast, EVERYTHING that is used after the boil should be sanitized before it comes into contact with the wort or you risk infecting the beer. This includes measuring, cooling, and transfer equipment, the fermentor, and the airlock. Down the road, when you are ready to package the beer, you will also need to clean and sanitize all equipment used for kegging and bottling.
Packaging
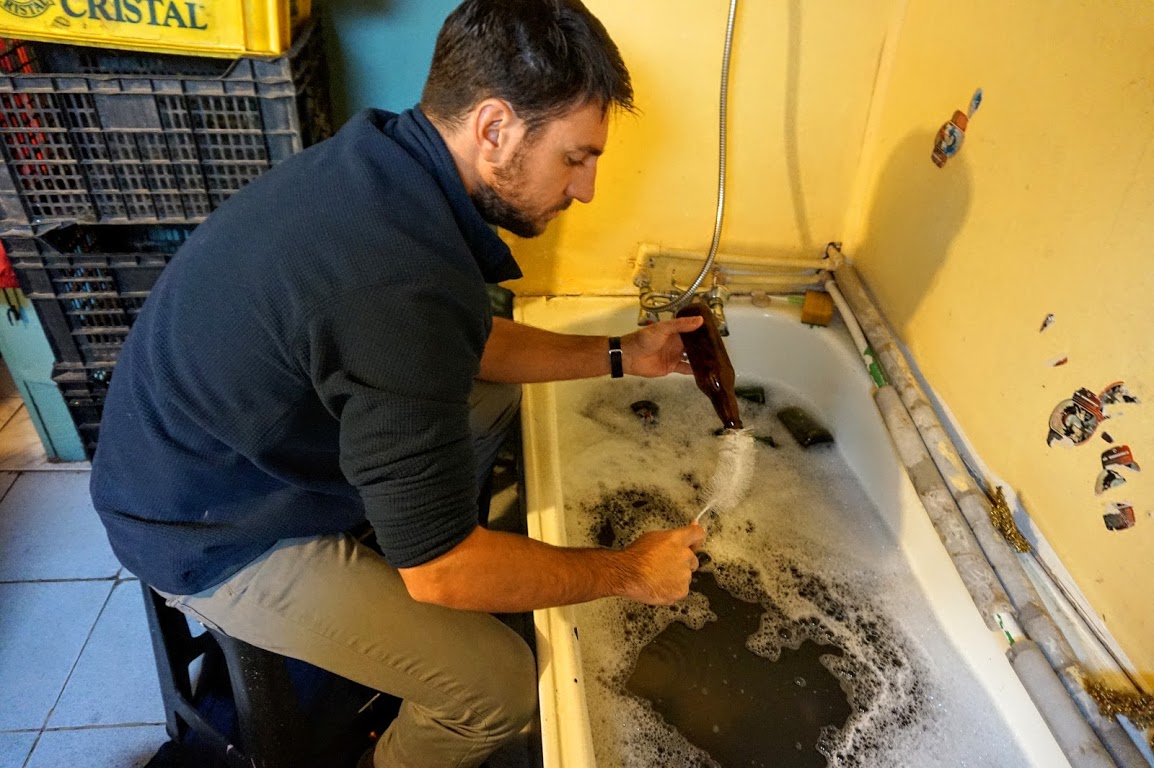
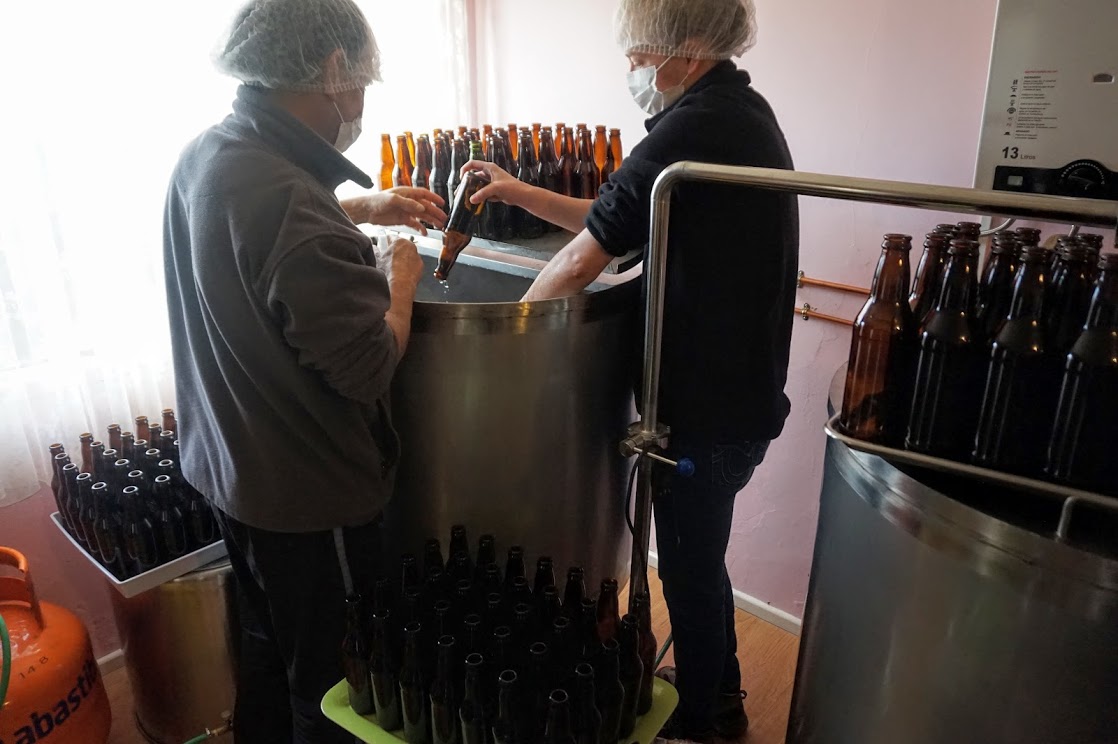
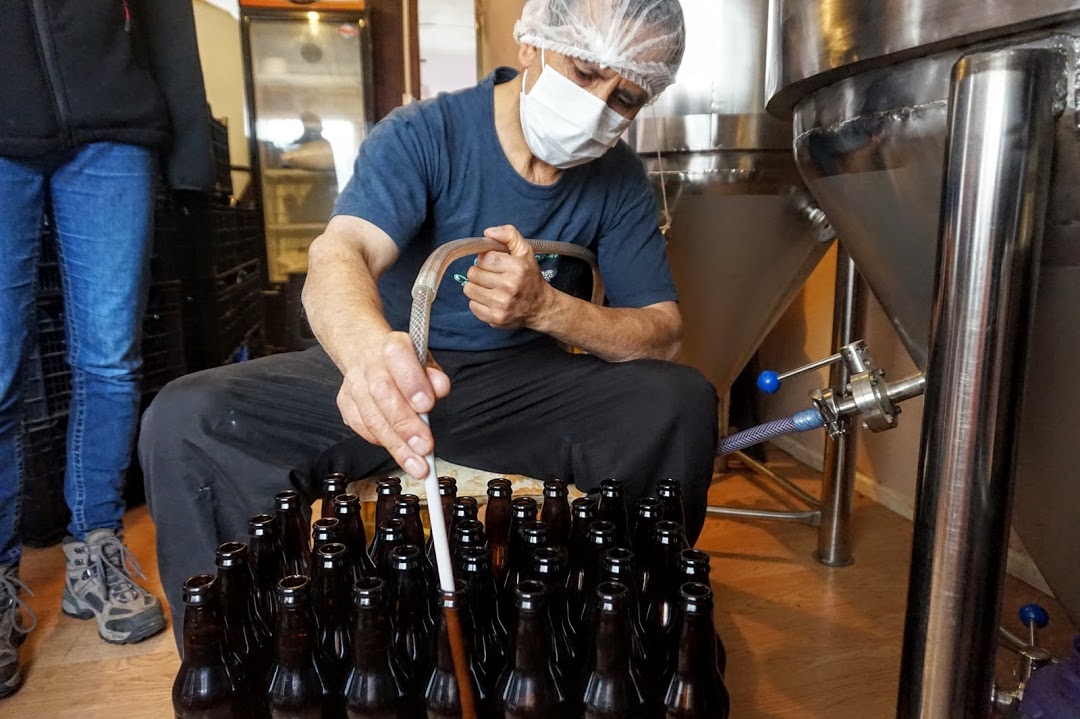
There are two main ways to package your beer: bottling and kegging. Kegging is generally easier because you only need to fill one giant container. Bottling (by hand) is a pain, so we have chosen not to do it at home, but it has its advantages, especially when you are trying to sell your beer. Thus, we bottled most of the beer we produced at Caiquen. The process is fairly simple:
- Wash, rinse, and sanitize the bottles.


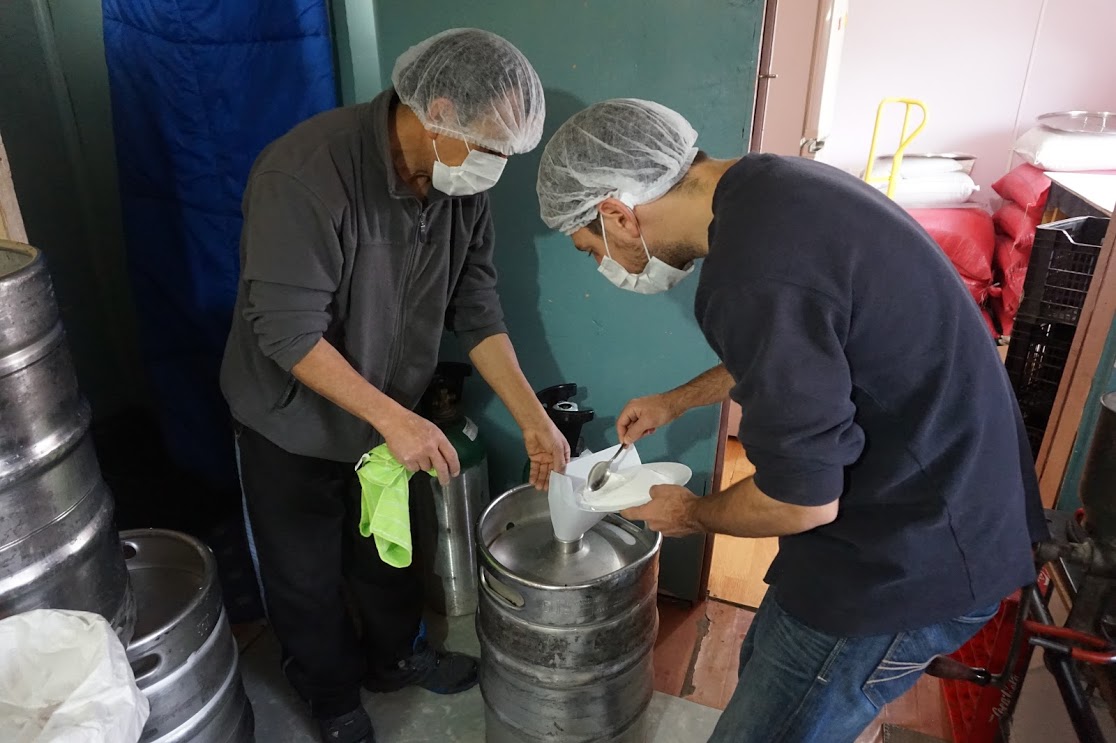
- Add priming sugar: We usually add a small amount of corn sugar dissolved in water to the beer, called priming sugar, to wake up the yeast and give them something to eat. The goal is that they produce just enough C02 to carbonate the beer, so when you pop the top you get that pleasing “pssscht” sound. It is possible to add too much, sometimes with dangerous consequences like bottle bombs.
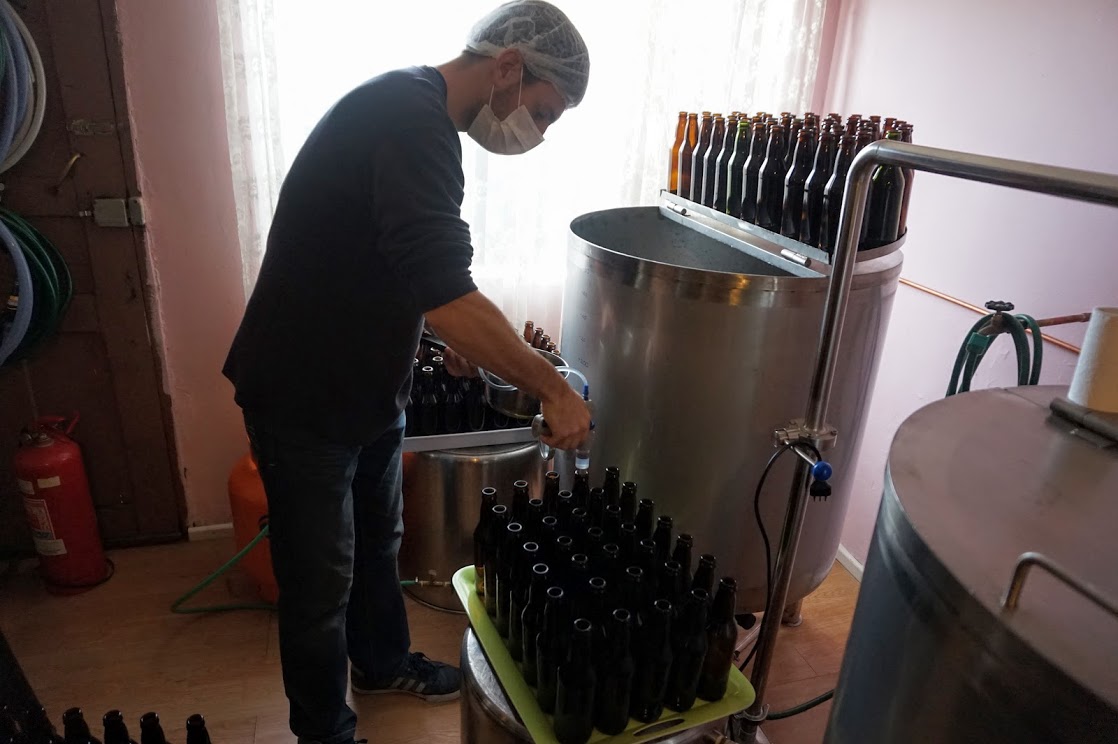
- Fill the bottle with beer: Forgetting this step has dire consequences, trust me.

- Cap it: Use the fancy capping tool to smash a cap over the top of the bottle.
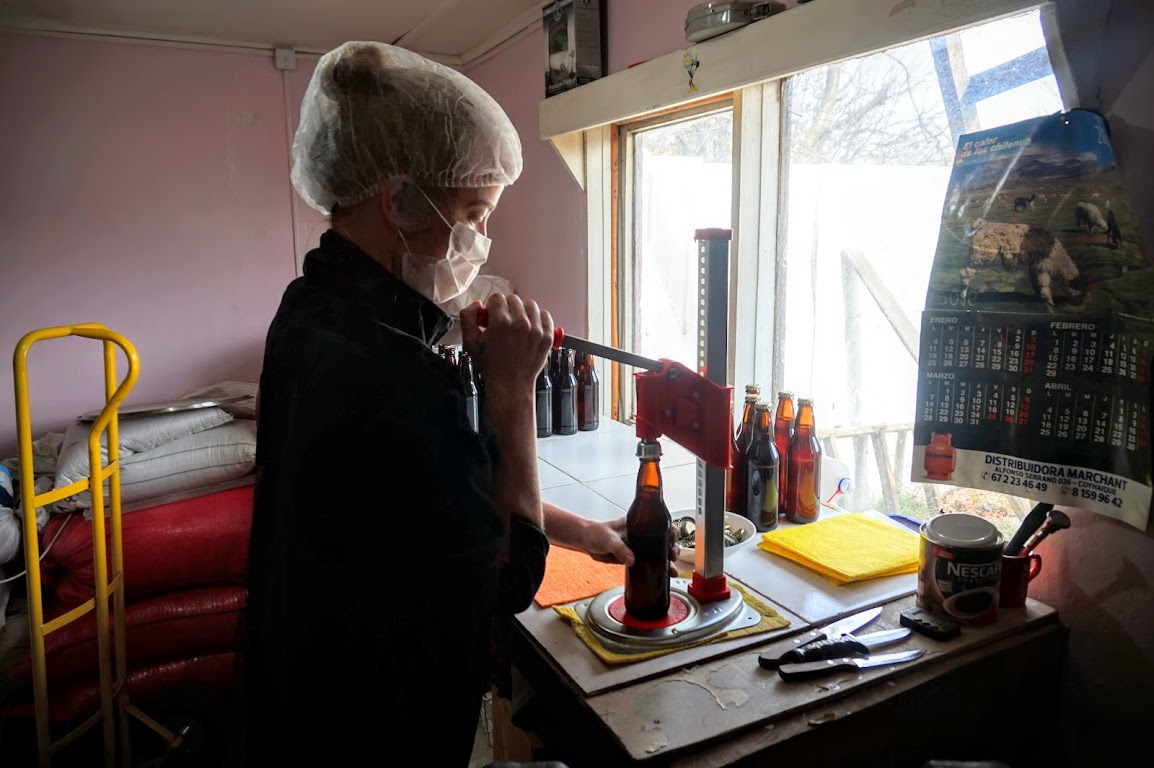
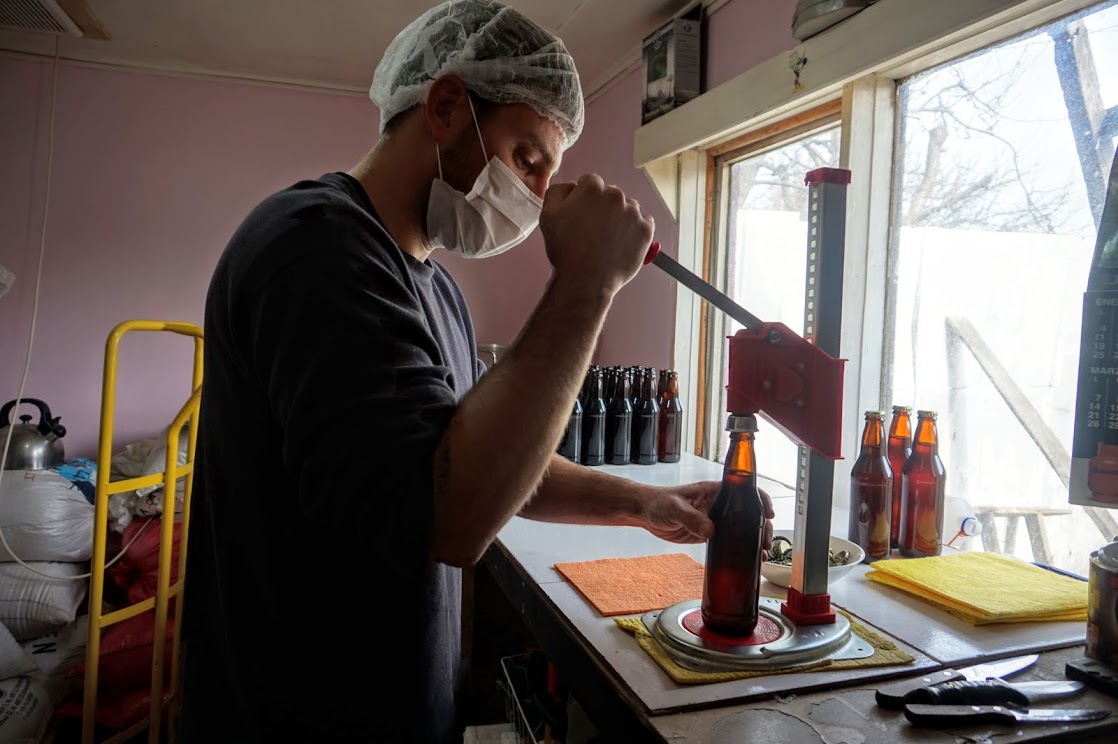
- Slap on a label: People generally like to know what they are drinking so it’s good to include details like type, ABV, expiration date, etc..
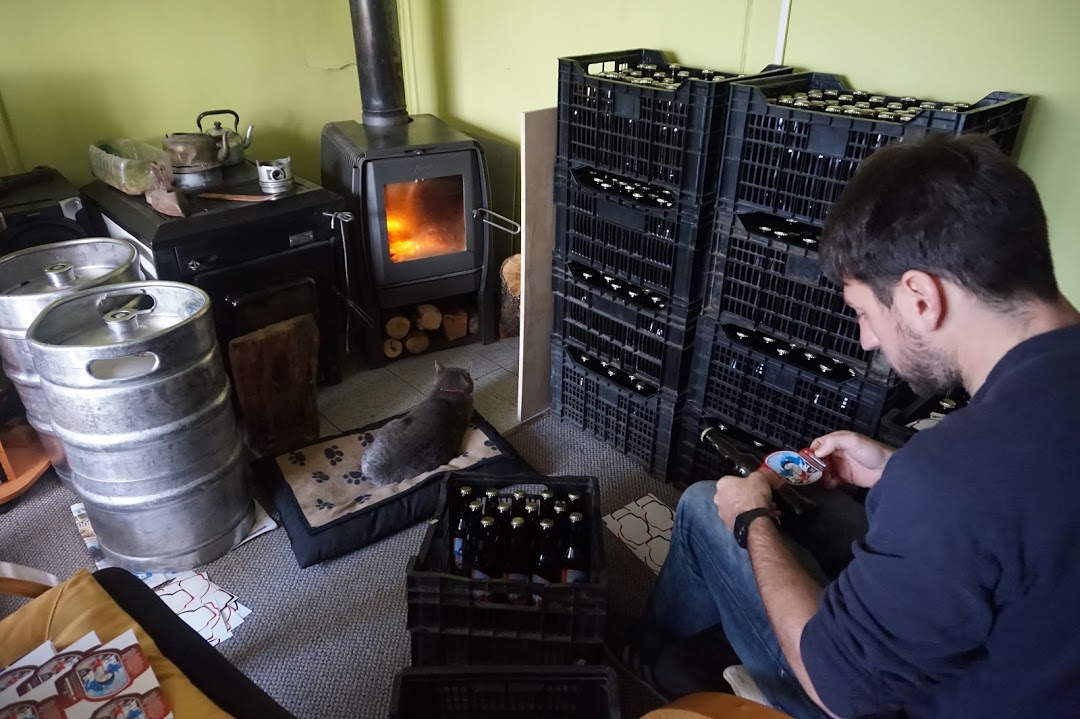
- Condition: The final step is to put the bottle is a reasonably warm location so the yeast can carbonate the bottle and the beer has a bit more time to mature or condition. Sometimes, especially with Belgian beers, brewers let them sit for years so they can brag about their elite bottle conditioning.
Drinking!
This is undeniably the most important step in the process. Share your favorites with friends! Salud!

Now that you know about the entire process, check out this timelapse video of the very first brewday on a brand new 300 liter system! It took a bit longer than normal as we were still figuring out the system (at we had to replace a blown pump at one point) but you can experience the entire 11 hours in just 43 seconds.